"When I first saw this tutorial I laughed out loud. I love Kira's descriptions, pictures and humor! When we started Wee Carry I knew I wanted to include Kira's awesome picture tutorial on our site. And thankfully, she was gracious enough to allow us to reprint it!"     -Nancy 
Hello peeps! I've had about a million requests to elaborate on what I mean when I say I use conditioner on my woolly wraps, so here's my step-by-step instructions. This method is safe and effective for all protein fiber blends such as wool, alpaca, cashmere, and silk. It is still safe but less effective for cellulose fibers like linen, cotton, kapok, hemp, etc. Wool is hair! Hair conditioner conditions hair! Hence, hair conditioner conditions wool.
Picture
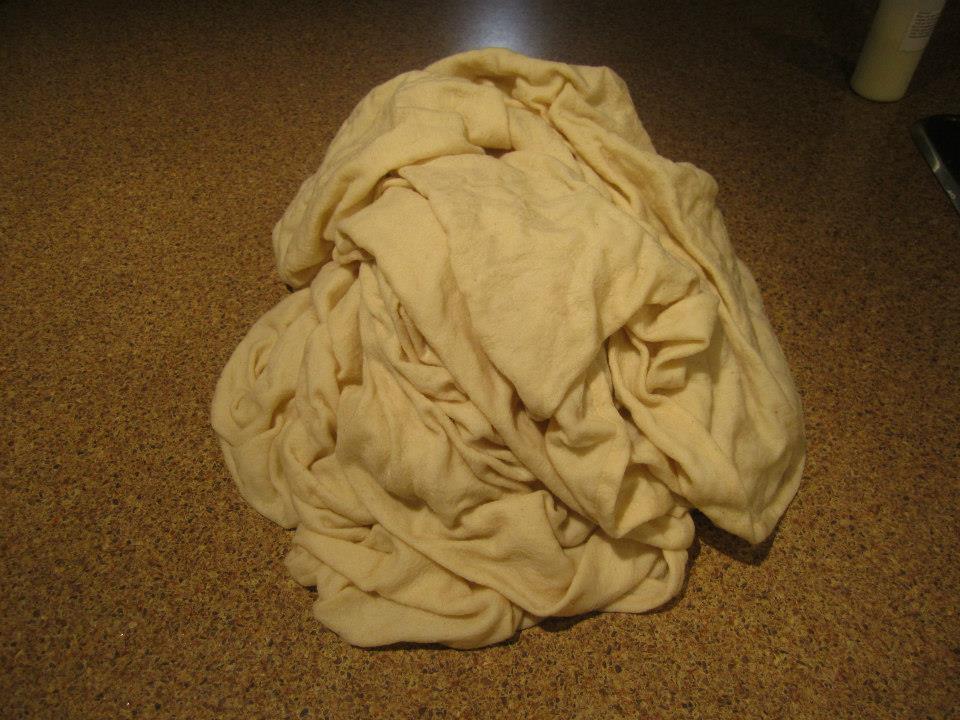
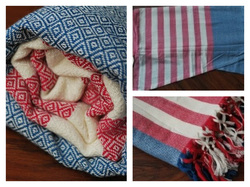
1.) Get a scratchy woolly, intentionally or otherwise.

2.) Get thee to thine bathroom and get your hair conditioner (no 2-in-1's, no silicone products please!). Alternatively, if you are a no-poo'er like me, you will have to get thee to thine local grocery store to accomplish same.


Picture
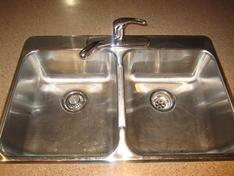
3.) Start with a clean sink! Because, ew. (Tubs, basins, plastic bins will also work). Clean with something gentle, or re-clean with something gentle after something harsh. I recommend white vinegar or a baking soda scrub for metal sinks. DO. NOT. USE. BLEACH. If you miss a drop of bleach product when rinsing, your wrap could pay the price. Plus it's really bad for you.

4.) Fill sink with lukewarm water.

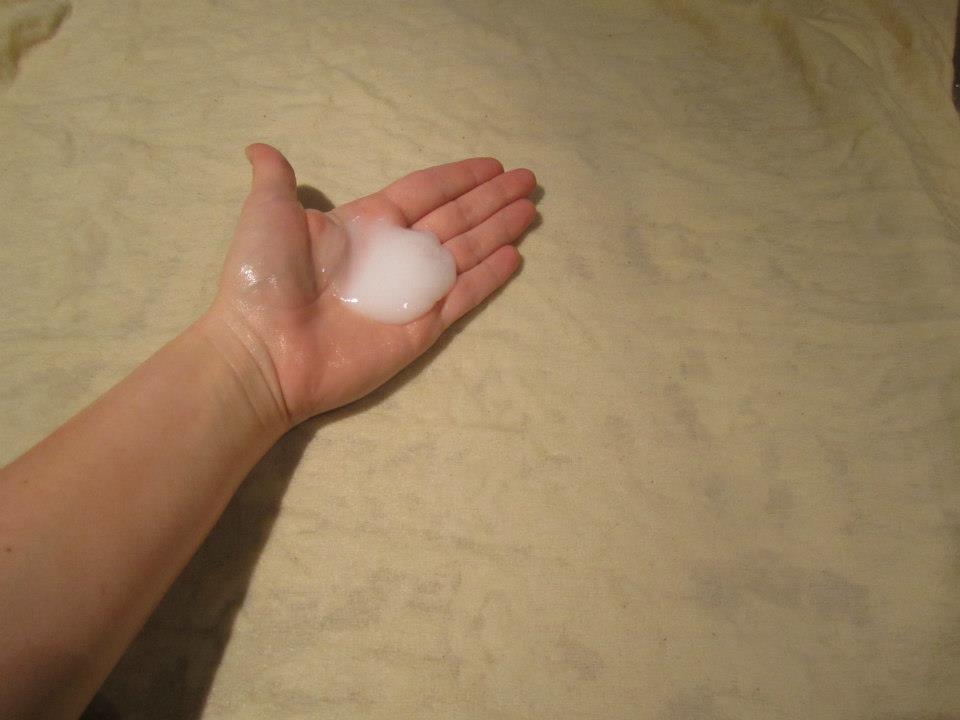
5.) Take a handful of conditioner. More is ok, less is ok, whatever. If your woolly is hella scratchy, use more. If your woolly is mostly soft but needs a boost, use less. There is no wrong amount.


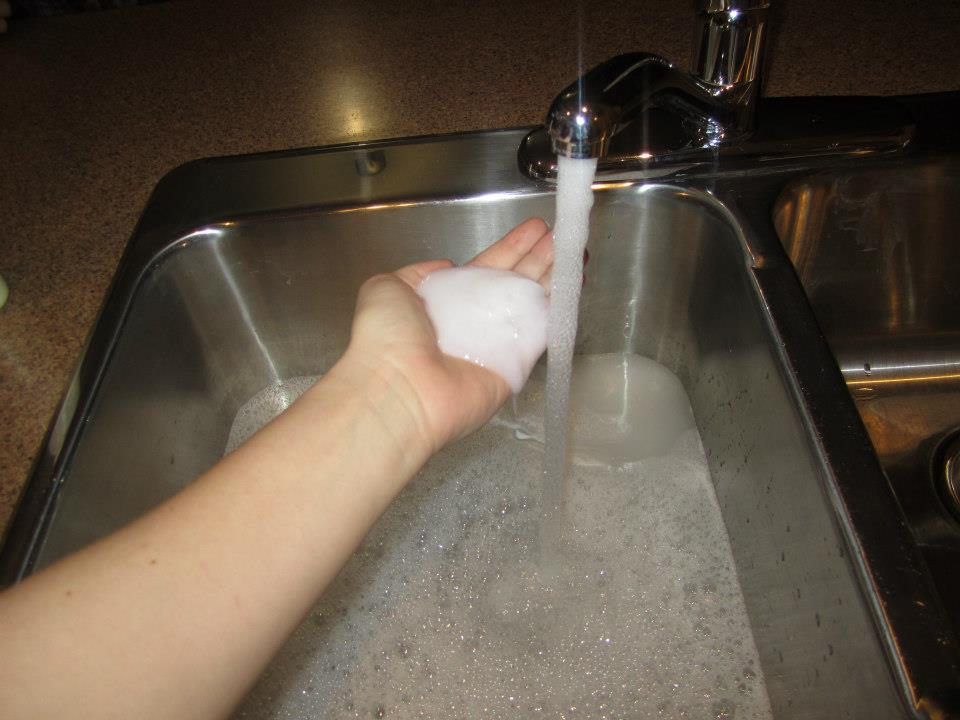
6.) Dissolve under running water. If you have clumpies, swish them around to dissolve. If they don't dissolve, you have the wrong type of conditioner and it is likely comprised of nasty petrolium products. Start over at step 2.

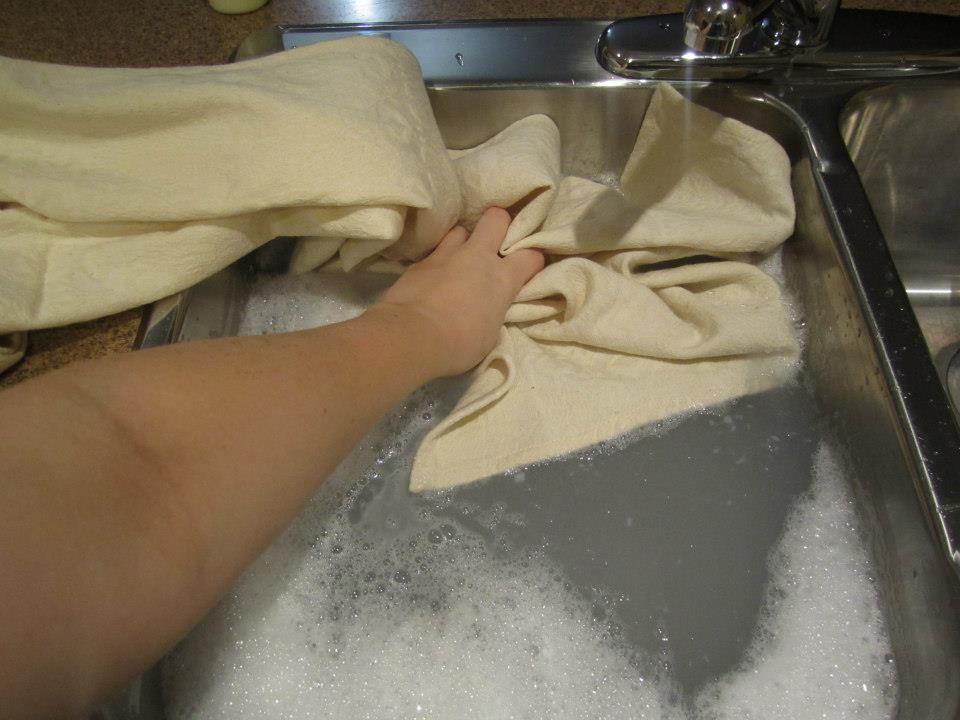
7.) Add wrap starting at one end so it's not in a clump. Gently squish to saturate, or it will repel water and float. Drown that sucker!

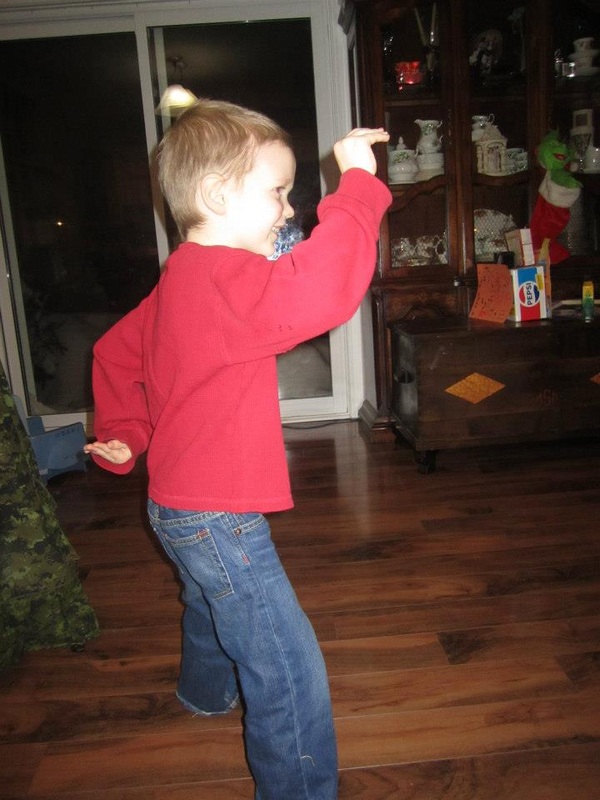
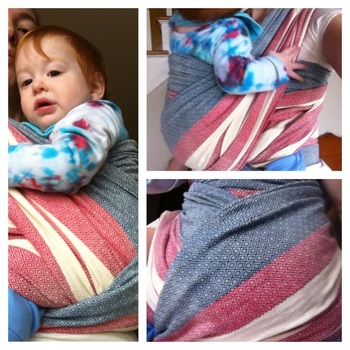
8.) Teach your wrappee to do the Funky Chicken. 
9.) If your woolly is REALLY scratchy, take straight conditioner and apply directly to wrap. Great globby handfuls of it.
10.) Rub it right in there.


11.) Squish the wrap to move the conditioner around. Gather it into a lump and let it sit for a few minutes.

12.) While that's soaking in, teach your wrappee to Walk Like an Egyptian.
13.) Place wrap back in the conditioner soup.* Gently swish, squish, and move the wrap about in the water. Movement is ok, rapid agitation is a no-no.

14.) Teach your wrappee The Twist.

Picture
14b) (Optional) Get distracted by a bubble bath and your hottie hubby , and completely forget about your wrap soaking downstairs.  Overnight. On your morning to sleep in.   Which your hubby will lovingly let you do until you snap awake at 10am FINALLY remembering your wrap.   

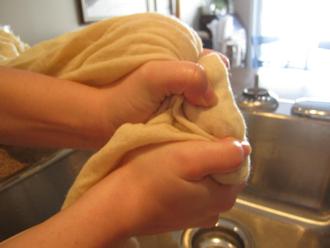
15.) Starting at one end, gently squeeze water from wrap and drain.


*Alternatively, you can use fresh lukewarm water at this stage in to rinse. I don't rinse. If you've used a significant amount of conditioner (half bottle or more), you'll probably want to rinse - just be careful to maintain comparative temperatures so you don't felt the wool!

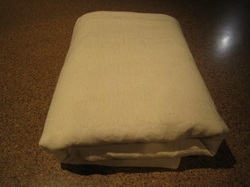
16.) Lay wrap out on clean, dry, fluffy towel. Fold to fit.

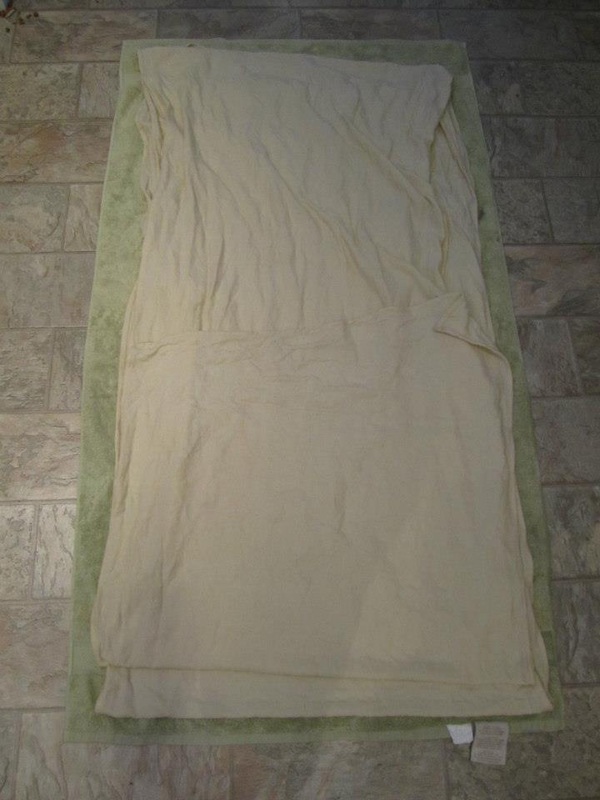
17.) Roll up like a burrito.
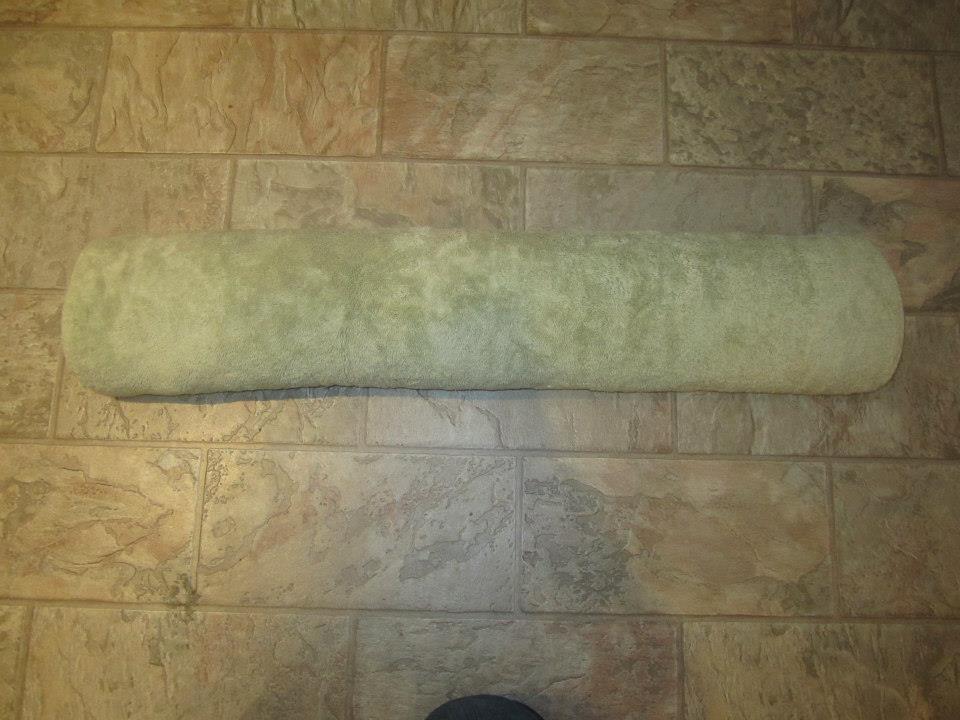
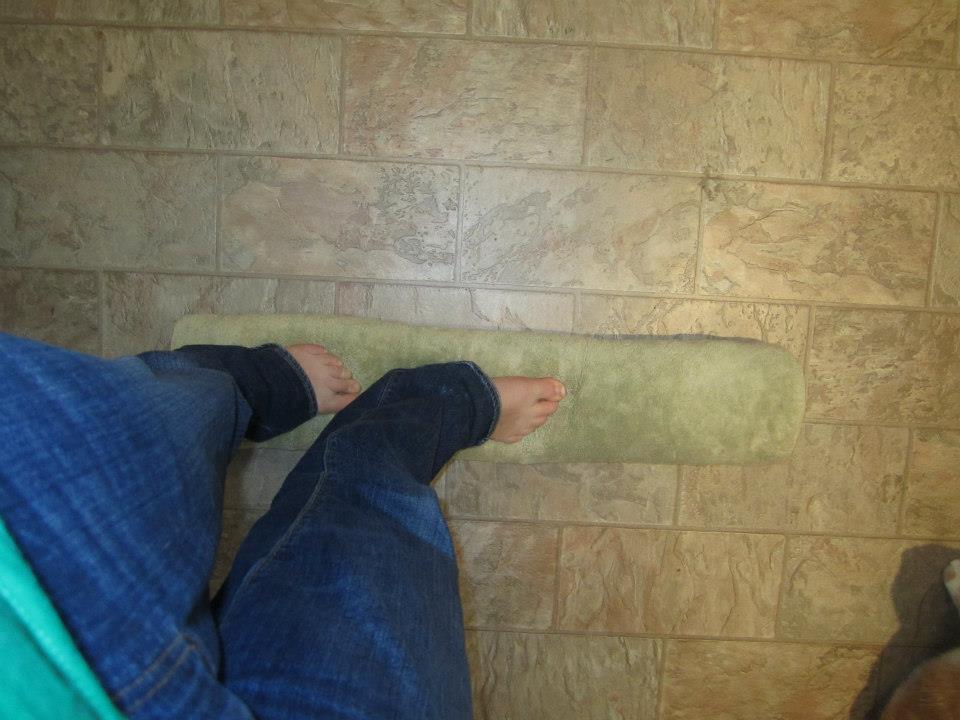
18.) Practice your beam exercises.
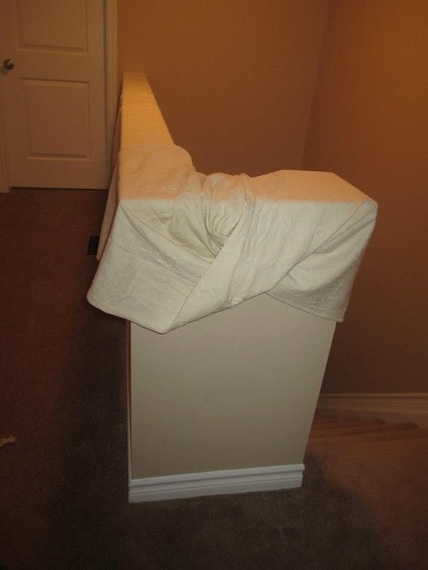
19.) Remove from towel and hang to dry, being sure the wet wrap is properly supported to prevent stretching and sagging. An unused slotted bedframe works well.
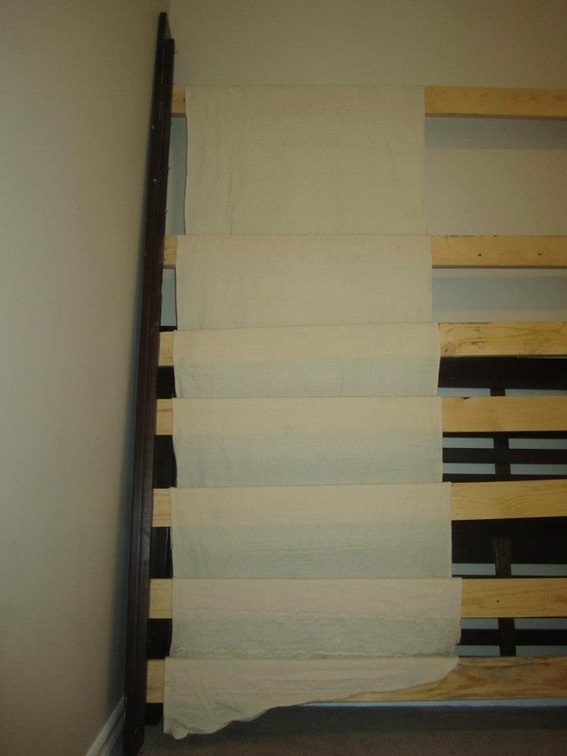
Or a second-floor half-wall/bannister.
Picture
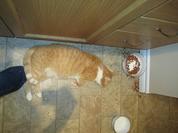
20.) Go feed your drama-queen cat, because clearly he is going to die if his food bowl is not full to over-flowing. 

Also clean up the mess he made the last time you fed him, and remind him he is not a dog.

Picture
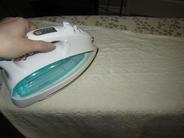
21.) Once dry, iron your wool wrap woolliest side up. Medium heat, low steam. Keep the iron moving to prevent scorching. This will not felt your wrap, so don't be scared!

Use gentle pressure and let the heat and steam do all the work.


22.) Fold prettily and pet! Your wrap is now clean, dry, pressed, and hopefully significantly softer. 
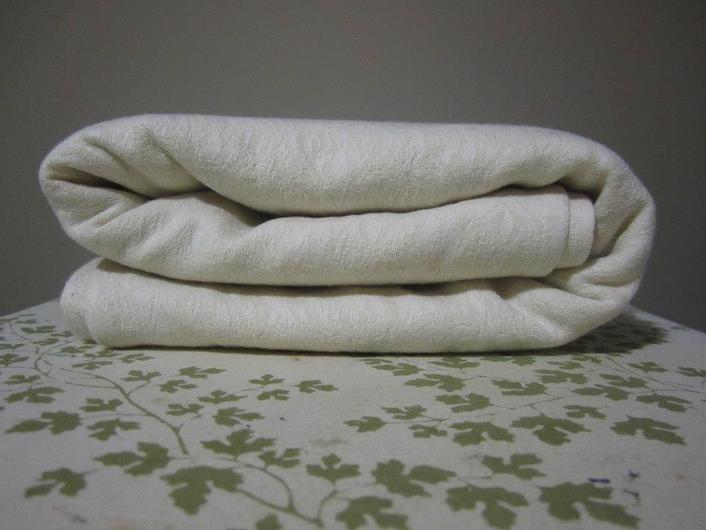
23.) Enjoy!

 
Picture
This is a gorgeous exclusive colorway design. We are very lucky to be able to offer you a very limited time a pre-order for, “Diamonds and Stripes”. 

Partnering with Die Wombathohle, of Germany, we are able to offer this pre-order to you for one day only (through Wednesday evening). We apologize in advance for the short notice and very short pre-order time frame, but we only just learned of this opportunity.

We would also like to apologize that our website and shopping cart are not currently running, but we really wanted to be able to offer this wrap in the USA! Wee sincerely hope you will forgive us for the logistical oopsies.

Picture
The Diamond Weave pattern shines as the bright white weft contrasts strikingly over the dark blue (azul capitan) warp of the upper large block stripe. The red and white stripes forming the bottom two thirds of the wrap are  reminiscent of the genius and darling Betsy Ross, and her beloved creation, Old Glory. 

This is the perfect wrap to wear all year long, but would be simply divine at Memorial Day, Veteran’s Day and Independence Day Parades and festivities! Have a family member in the military? What better way to show your pride and patriotism than with wearing your wee one in one of these beauties! 

Picture
Price List is as follows:
Size 2: $120......Balance due upon invoice: $60
Size 4: $130
......Balance due upon invoice: $70
Size 5: $140
......Balance due upon invoice: $80
Size 6: $150
......Balance due upon invoice: $90
Size 7: $160
......Balance due upon invoice: $100
*Please add $5.00 for fringe. 
At this time size 8 and ring slings are not available. Weave date TBA.

Payment Details: shipping & handling is included, cancellations will be applied as store credit. Please email us your preferred size (and fringe preference), 
with subject line "Diamonds", and we will promptly send an invoice via PP. Payment is due by 7:00pm EST to be included. All invoices unpaid as of 7pm will be cancelled. Wee will send an invoice for the remaining balance due when the beauties land @ Wee Carry. 

We promise to offer Diamonds and Stripes as a pre-order again before the close of year. So please stay tuned to Wee Carry happenings!

 
Picture
I wish I could say that I didn't have mommy brain, and that I always remember everything I need to do, and therefore I didn't have to go to the mall 4 days before Christmas. Unfortunately my brain is mush and I forget everything. I forgot to pick up Tierney's Christmas photos at the mall two weeks ago when they were ready, and of course I want to give them out on Christmas, so I had to go to the mall during the first snow storm of the year on the Friday before Christmas. 

I knew I would be waiting at the portrait studio for an eternity, thanks to today being the first day of Christmas break for the schools in my area, so I decided to bring my wrap with me. I got Tierney out of the car in the blizzard and wrapped her in this made up hip carry I learned from Rene that I don't know the name of (maybe one of you out there can enlighten us!). It's very comfortable for long periods of time, but is also super easy to prep at home and pop baby in at your destination.

Once I entered the mall, I was bombarded by mothers yelling at toddlers to hold hands so they wouldn't get lost, giant strollers banging into fixtures and almost running people over, and mothers of small babies just holding them in their arms as they made their way through the overcrowded mall with all their various bags and packages. 

I wanted to stand on a bench and just yell, "It doesn't have to be so difficult to go to the mall with your baby!!!!" but it was so loud, nobody would have heard me anyway.  I did get a few wistful looks from disgruntled mothers wrangling their newly walking little ones, and parents trying to squeeze their huge travel system strollers through narrow and blocked aisles.  


I honestly don't know how I would do it every day without my wraps and carriers. Today I definitely became aware of just how life-changing babywearing can be for a parent. I made an excellent decision a year ago, while Tierney was still in my belly, and I will never look back!

 
Picture
I was lucky enough to be pregnant in winter, and while watching TV around Christmas time, I saw a commercial for Sears. The commercial was for kitchen remodeling or something along those lines, and featured a new mom and dad with their baby. Mom was wearing baby in a Moby wrap, and I was instantly drawn to the idea. I loved the hands-free aspect of the mom "wearing" her baby, and I also loved the closeness it would bring.  I immediately started googling until I finally found the Moby wrap. I read all I could about it, and knew I wanted one when my daughter was born. I registered for it at Target and Babies R Us, but had a feeling I wouldn't get it since no one would no what it was. Of course, I was a registry-stalker, and checked every day as my baby shower neared. One day, the Moby suddenly made an appearance on my list of purchased items! I was so excited! My second grade teacher, who is still a close family friend, had decided to get it for me after a tip from my mom. As soon as I got it home, I was practicing with my daughter's teddy bear (so unlike the real thing!).  I couldn't wait to wrap my daughter up close to me.
After 50 hours of labor, and a LOT of complications I won't go into, I finally got to bring home my beautiful baby girl. I was in a lot of pain, so a few weeks went by before I got to test out the Moby wrap.  The first time I used it was to take Tierney to the mall for her first picture with the Easter Bunny.  I remember standing in the food court with the instruction manual, working hard to get her wrapped tightly and comfortably. I must've done something right because she nestled in and went right to sleep!  I couldn't have been happier to have my daughter wrapped up close to my heart.
Using the Moby wrap led me to explore other babywearing options, such as the Baby K'Tan and a ring sling for the pool, both of which Tierney also loved.  Eventually, as she got bigger, the stretchy K'Tan and Moby started to sag under Tierney's weight. By about 5 months of age, they were getting a little harder to keep snug.  At that point, I started to look into other carriers. I stumbled upon the Baby Hawk Mei Tai. I loved that I could make a reversible custom carrier for only $99, so that was my next purchase. Tierney loves going for walks in her Mei Tai, and it felt much more sturdy with her increasing size.  The mei tai was fairly easy to use for front and back carries, and my husband often wears her to do things around the house as well.  I also acquired a WAHM ring sling which has a special place in my heart and diaper bag. I always take it on errand runs because it's so snuggly soft and easy to take baby in and out of in a hurry.
Soon I started hearing more and more talk about woven wraps, similar to the Moby without the stretch, and suitable for back carries, which I enjoy much more now that Tierney is older. About a month ago, I purchased my first wrap, Natibaby Black and Gray Swallows Cotton/Linen Blend, Size 4.  It came in the mail and felt so squishy and wonderful!  I couldn't wait to try it out! I immediately subjected Tierney to multiple carries, but the woven wrap definitely comes with a learning curve, and my arms were SORE that next day!  The more I practiced, the easier it became, and the softer and more supple the wrap became.  I knew I wanted a size 6 so I could do a larger variety of carries. I stumbled upon a 100% Cotton Kokadi Pink and Orange Stars, which I had already fallen in love with, and immediately purchased it!  It arrived a week later feeling totally broken in compared to the Nati. Being thinner and softer, it was much easier to work with as a beginner, and is my go-to wrap for learning new carries. The Nati has softened up more and more and is also much easier to work with now. I love using it for quick hip and front carries, and it looks great over my dressier clothes with it's gorgeous gray color (not that I really dress up much with a nine month old, but it's an option if I need it!).
So I'm still learning a lot, and I can't wait for you all to learn right along with me! We will be instilling the Carry of the Week very soon so that we can all perfect a new carry every two weeks (because we don't feel one week is really enough to master any carry). Please check back often, and don't forget to follow us on Instagram (#weecarry) for new pics of our babywearing adventures, and on Facebook (http://www.facebook.com/weecarrybaby) for lots more information!

Thanks for reading!!
~jenna